When you have leftover bananas that are too ripe, sometimes there's nothing else left to do but make banana bread. And since I always buy too many bananas anticipating that my 3 year old will actually eat them, I seem to always have some overripe bananas. (I have to admit that sometimes I let them get ripe knowing that I will make banana bread because it's so yummy and smells awesome in my home.) My friend Amy gave me this recipe many years ago during my freshman year at college. It is a tried and true recipe and the amount of goop on my recipe card can prove it. I think it is my most gooped up recipe card in my collection. (I really ought to think about rewriting it). In any case, I noticed that admin does not have a Banana Bread recipe on this blog, so I thought I'd better remedy that problem.

The Ingredients:

1 c butter/margarine
1 c sugar
2 eggs
1 c ripe mashed bananas (about 3 bananas)
1 tsp lemon juice
1/4 c milk
2 c flour
1 1/2 tsp baking powder
1/2 tsp baking soda
1/4 tsp salt
1/2 c chopped nuts (optional)
The directions:
Grease a loaf pan. Preheat oven to 350 degrees.
Cream the butter and sugar together until fluffy and yellow. Add the eggs and beat well. Add the bananas, milk, and lemon juice. (I break up my bananas into small pieces and let the beaters do the mashing for me. Some days, ok all days, I don't really feel like washing an extra dish used just to mash bananas) Add in the dry ingredients and mix well (but not too much. You don't want it to get that rubbery, miked too much texture. Just blend everything together nicely. At this point you could add in the nuts, but I never do. First of all because I don't really like nuts in baked goods, and second of all, and most important, my second son is severely allergic to nuts. So you will never really see me cooking with nuts.
Pour into greased loaf pan and smooth out the top. Add pan to oven and cook loaf for 1 hour (give or take 5 minutes depending on your oven) if it starts to look a little dark half way through the cooking process, cover with a foil tent.
 Check with a toothpick to make sure it comes out mostly clean. Remove from oven and let rest in pan about 5 minutes. Invert onto cooling rack and finish cooling.
 Or, if you're anything like my husband and you can't stand having warm bread in front of you that smells so great, then by all means burn your hands cutting into it. Because then the butter will melt better on top of your slice.
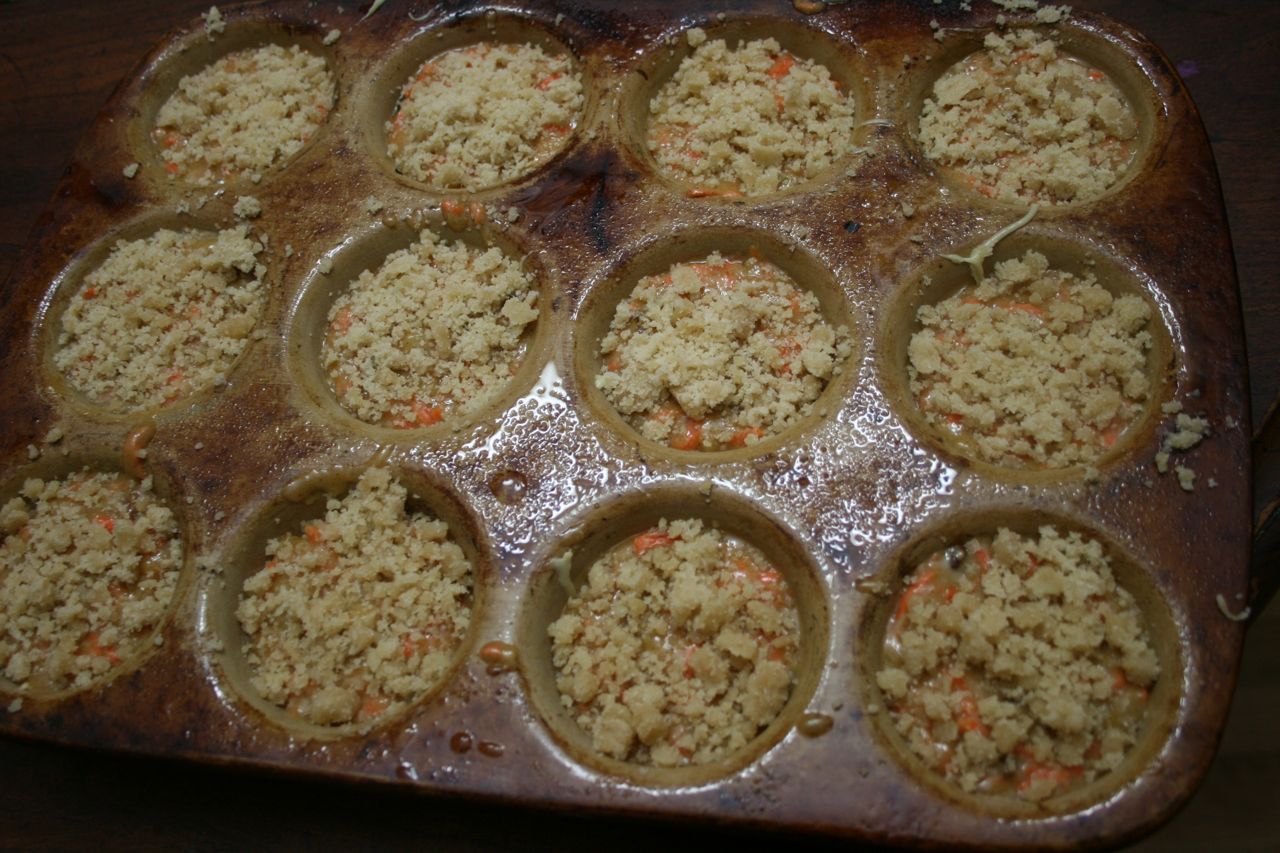
FYI: If you're interested in doing muffins, do not use muffin liners. I think that because of the amount of butter in this, that they get a little greasy at the end. But you still need to grease your muffin tin. Cook banana bread muffins for 16-20 minutes in 350 degree oven.
If you want to do mini loaves, then grease a mini loaf pan and cook for 20-24 minutes.
Don't miss a single recipe, sign up for email updates!

Click here for printable recipe.
The Ingredients:

1 c butter/margarine
1 c sugar
2 eggs
1 c ripe mashed bananas (about 3 bananas)
1 tsp lemon juice
1/4 c milk
2 c flour
1 1/2 tsp baking powder
1/2 tsp baking soda
1/4 tsp salt
1/2 c chopped nuts (optional)
The directions:
Grease a loaf pan. Preheat oven to 350 degrees.
Cream the butter and sugar together until fluffy and yellow. Add the eggs and beat well. Add the bananas, milk, and lemon juice. (I break up my bananas into small pieces and let the beaters do the mashing for me. Some days, ok all days, I don't really feel like washing an extra dish used just to mash bananas)
 Add in the dry ingredients and mix well (but not too much. You don't want it to get that rubbery, miked too much texture. Just blend everything together nicely. At this point you could add in the nuts, but I never do. First of all because I don't really like nuts in baked goods, and second of all, and most important, my second son is severely allergic to nuts. So you will never really see me cooking with nuts.
Pour into greased loaf pan and smooth out the top.
 Add pan to oven and cook loaf for 1 hour (give or take 5 minutes depending on your oven) if it starts to look a little dark half way through the cooking process, cover with a foil tent.
 Check with a toothpick to make sure it comes out mostly clean. Remove from oven and let rest in pan about 5 minutes. Invert onto cooling rack and finish cooling.
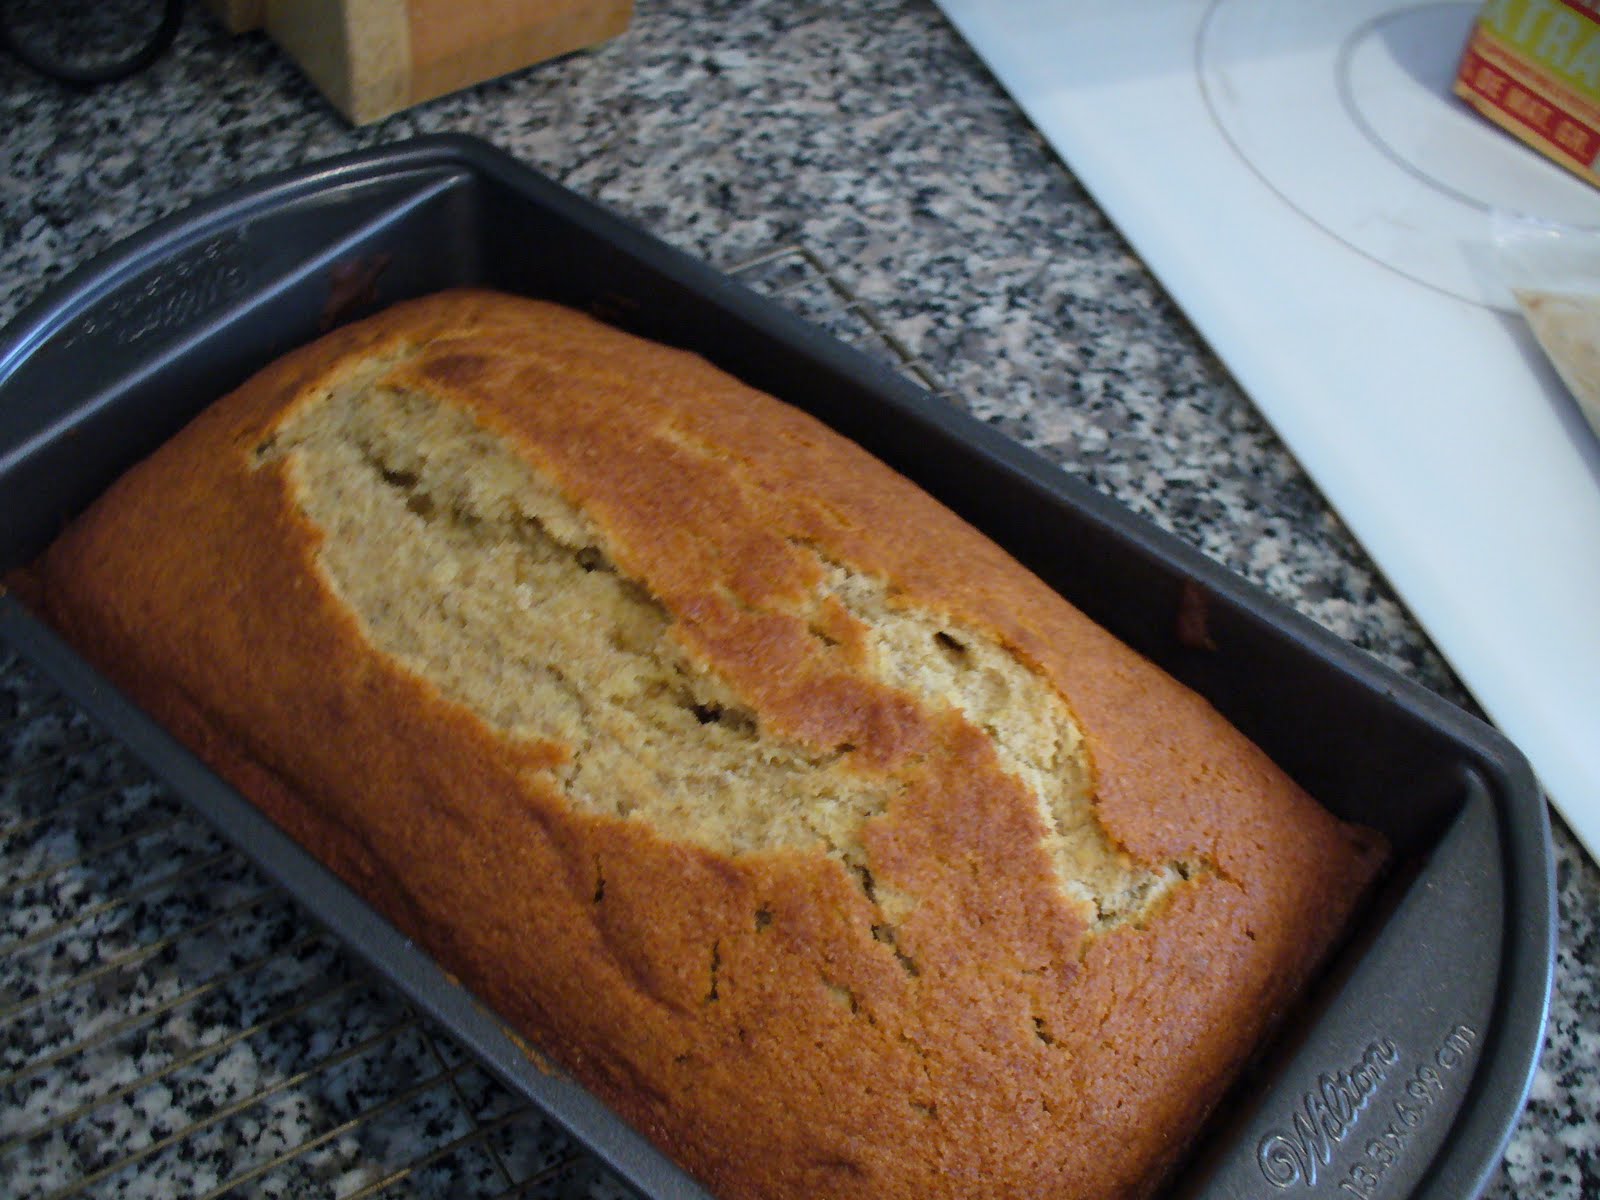 Or, if you're anything like my husband and you can't stand having warm bread in front of you that smells so great, then by all means burn your hands cutting into it. Because then the butter will melt better on top of your slice.
FYI: If you're interested in doing muffins, do not use muffin liners. I think that because of the amount of butter in this, that they get a little greasy at the end. But you still need to grease your muffin tin. Cook banana bread muffins for 16-20 minutes in 350 degree oven.
If you want to do mini loaves, then grease a mini loaf pan and cook for 20-24 minutes.
Don't miss a single recipe, sign up for email updates!